Monday, April 4, 2011

Fun with bunnies and ducks

Now this was a fun project I got to do with the girls. The older girls that is, Christina was to busy sleeping, eating and pooping. I got the inspiration from Micheals. They had a display of Easter crafts and Courtney was just begging me to buy the materials for it.

So like the good mother that I am I bought them. ;-)

Here are the material that you are going to need.
2 1/2 in. Styrofoam balls
Mini flower pots ( I used two of each)
googly eyes
glue gun
Paint (any color of your choice)
Color foam sheets
fuzzy pipe cleaners
sequins (optional)
scissors
foam paint brushes

It seems like a lot of stuff because truthfully it is. The mini-flower pots were on sale for 2 for $.89 and everything else was no more than $2. But, most of the supplies I used I had in my craft cabinet already. 

First thing you need to do is paint the outside of your mini flower pot. I choose white for the bunny and yellow for the ducks.  If you are doing this with children make sure you have PLENTY of newspaper on the table you are working on. They made an absolute mess.
What was I thinking letting Kat use a paint brush all by herself. LOL but she and Coutney had loads of fun.


Then decorate them to your hearts desire. Cutting out different shapes with the styrofoam sheets. Oh I forgot to add I also used these 3-D glitter pens. They really come in hand when the kids want to work with glitter and you are afraid that they will get glitter everywhere.

 
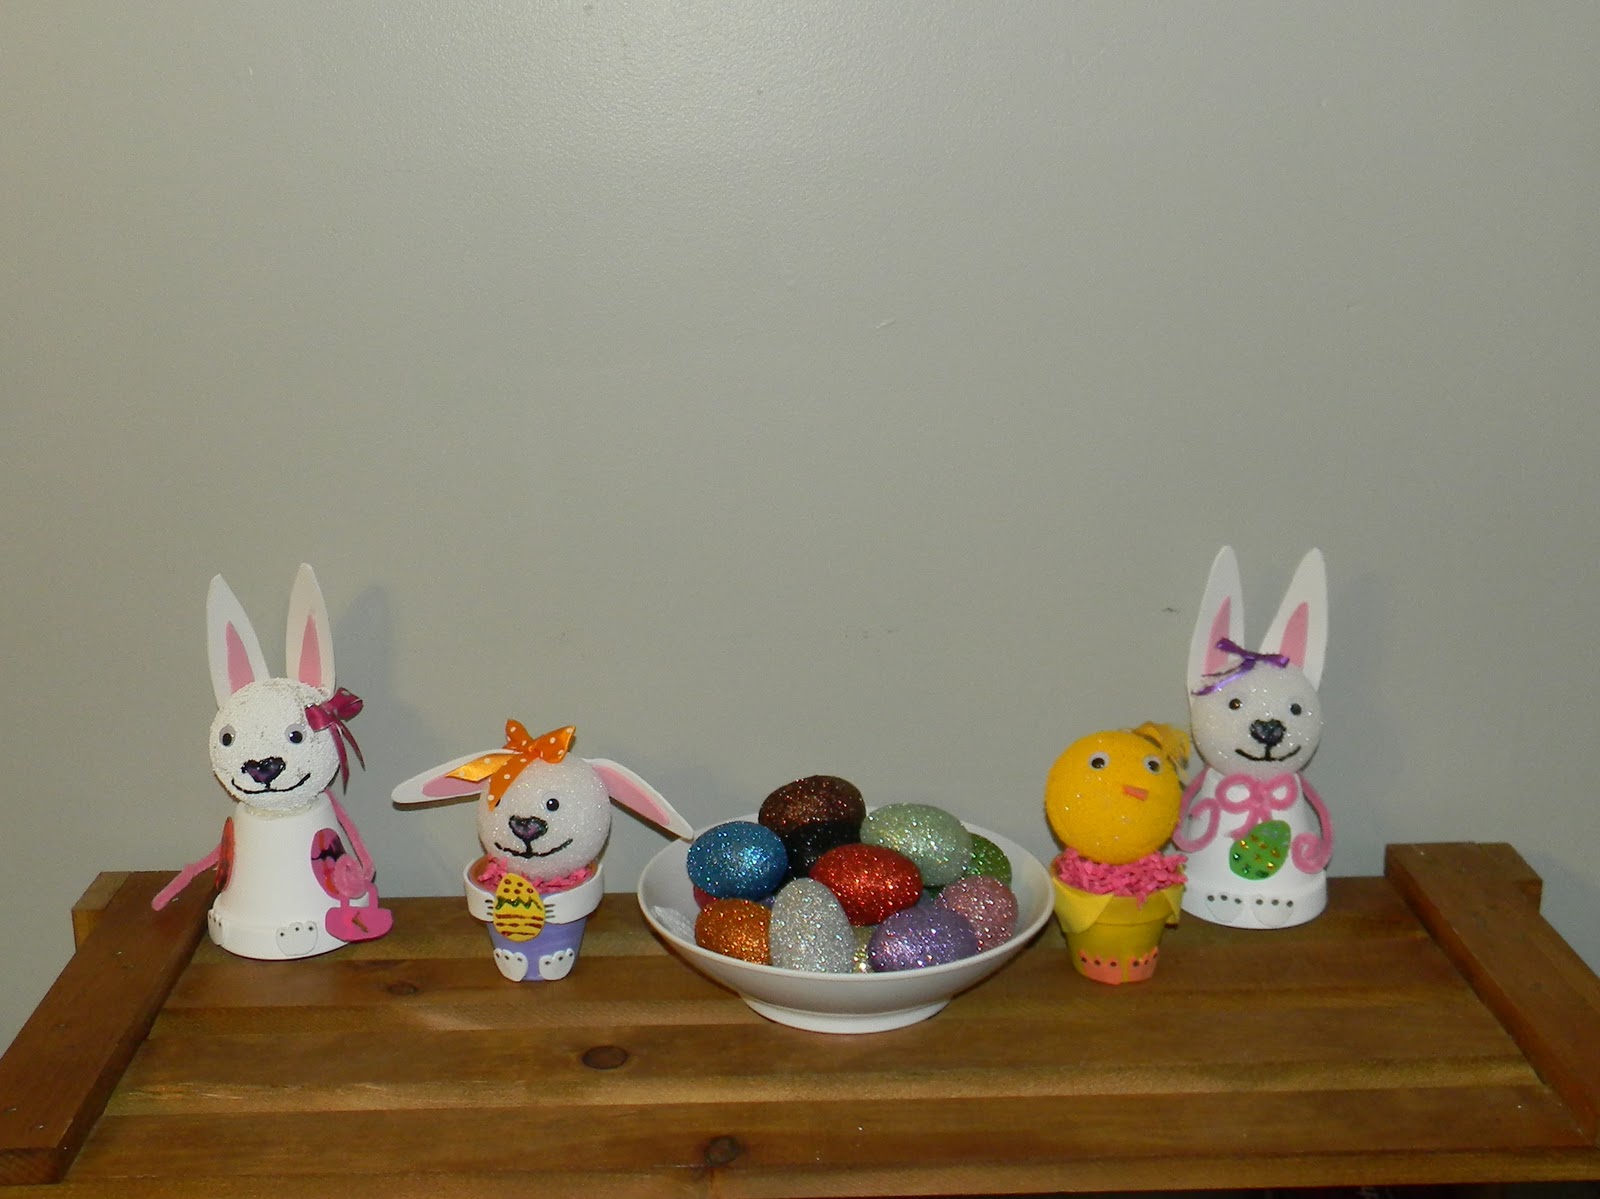
Aren't they just darling. I think they turned out really good. 


Saturday, April 2, 2011

Glittered Eggs


As Easter is quickly approaching on us I've noticed that I have not started my Easter decorating in the house. Last year for Easter I did these glitter eggs but they've gotten misplaced in my house full of junk.

So I've decided to do them again because they are really fun to do and WHO doesn't like to work with glitter!!!! First off you need to work in an area where you do not mind finding glitter once the project is done. Marty was pretty upset that he kept finding glitter all over his clothes every time he sat at the dinning room table. That was my fault. LOL I have a crafting area in the basement. But, it is so freakin cold down there I do all of my crafting upstairs for now. Enough rambling lets get to the task at hand. The material you will need:


  • Plastic eggs

  • Martha Stewart glitter multi-pack

  • Mod Podge (not pictured)

  • toothpicks or ka-bob skewers

  • paper plates

  • foam paint brush

  • Styrofoam

  • spray sealer (not pictured)
First, I stuck my toothpick into one of the little holes at the bottom of the egg so I could easily paint & glitter every part of the egg. I applied a somewhat thin coat of mod podge with a foam brush & then sprinkled my glitter. (be sure to work over the paper plate so you can funnel your leftover glitter back in the bottle.

Let them dry by sticking the skewer in some leftover floral styrofoam.

Once you are done glittering your eggs use your sealant to avoid getting glitter all over your hand when you touch them. If not, then glitter will mysteriously appear EVERYWHERE. You could use the Mod Podge to seal in the glitter but I noticed that they are not as sparkly as they would be using the Gloss spray sealant. Once they are finish drying from the sealant. Find a pretty bowl to arrange your eggs in and wah-lah you are done.